





Kaju katli is a decadent, melt-in-your-mouth, diamond-shaped Indian dessert adorned with edible silver foil.
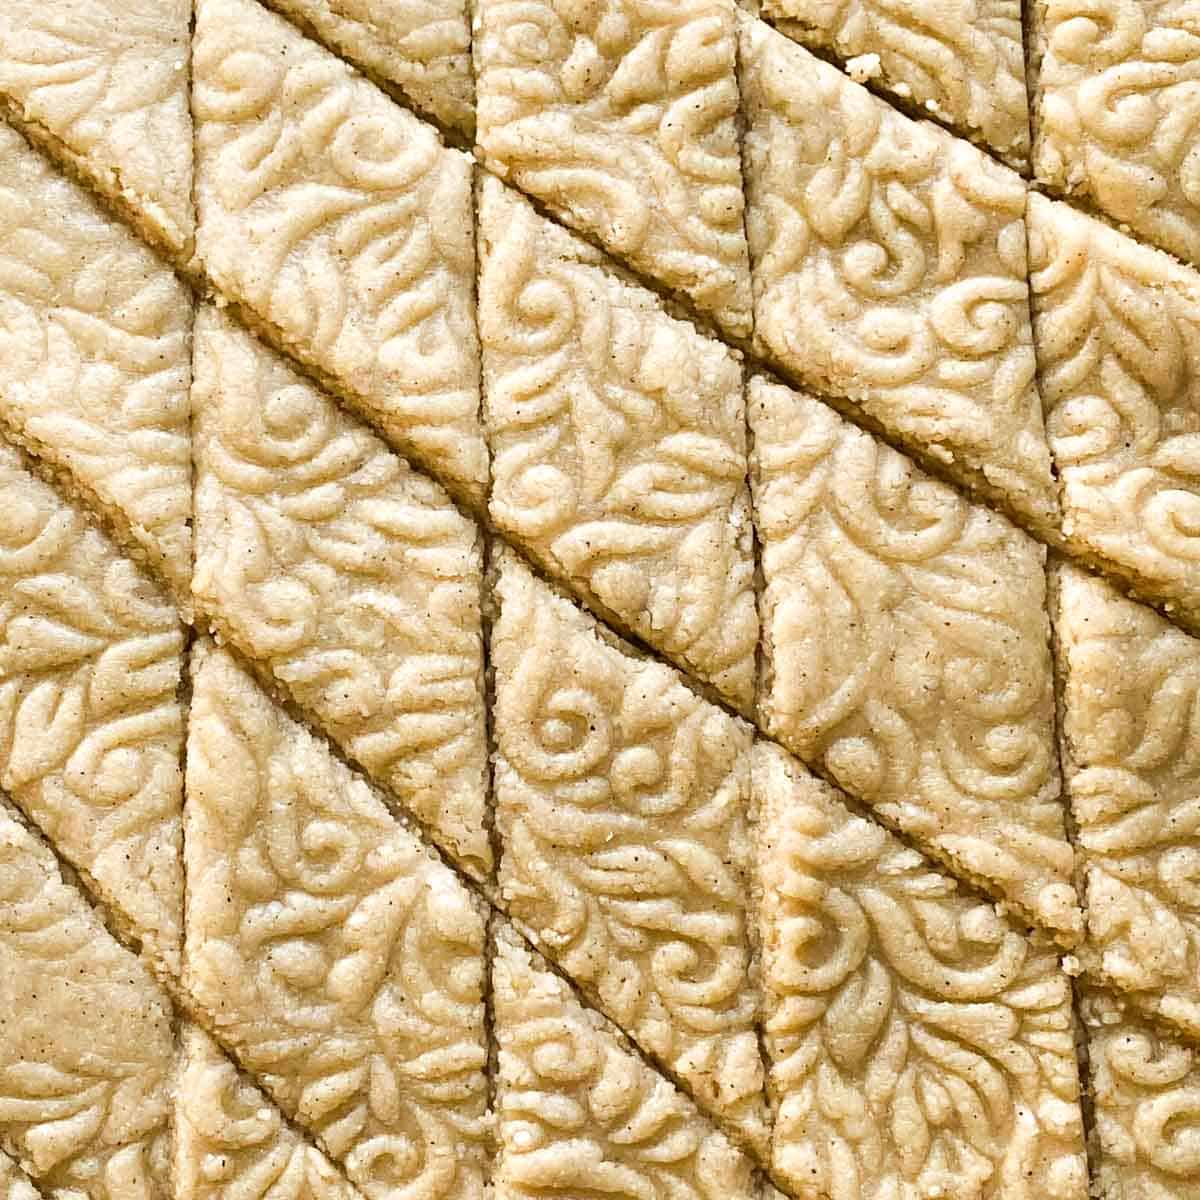
Kaju katli is the perfect dessert to share with friends for festive holidays like Diwali/Deepavali. Not only is this cashew fudge dessert so delicious and buttery, but its diamond shape adorned with silver foil makes it a beautiful addition to holiday dessert boxes for friends and family. Checkout this article on how to create a homemade Deepavali/Diwali gift box filled with other delicious Indian sweets.
Kaju Decorations
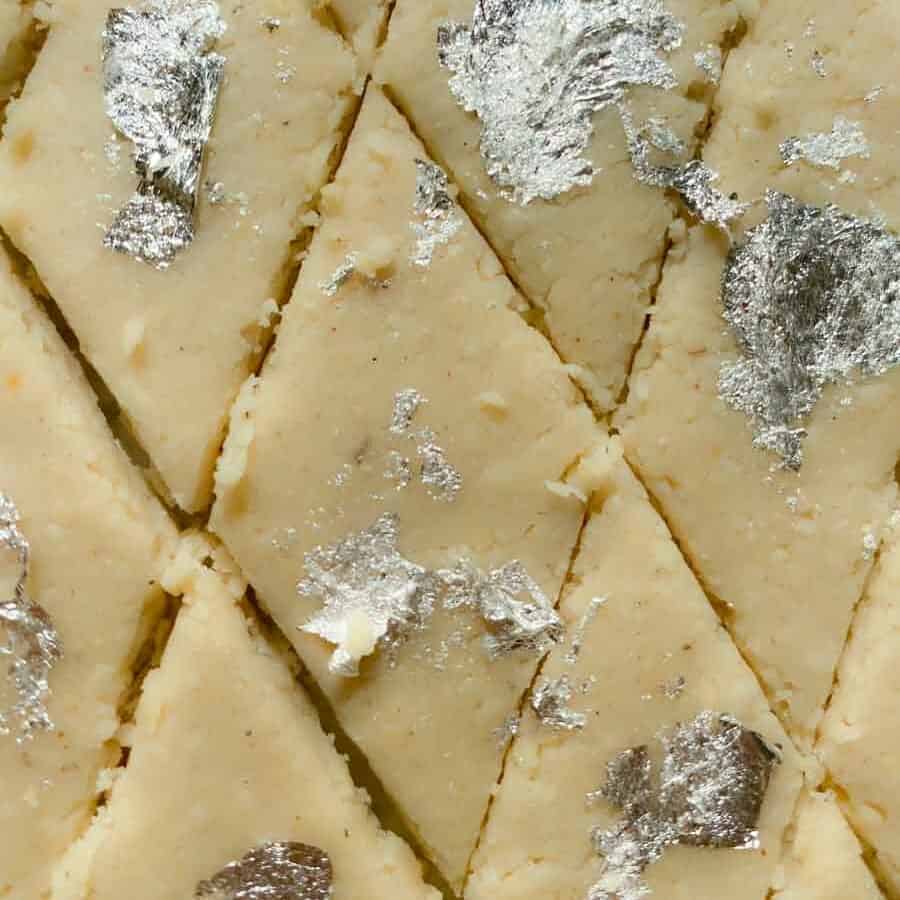
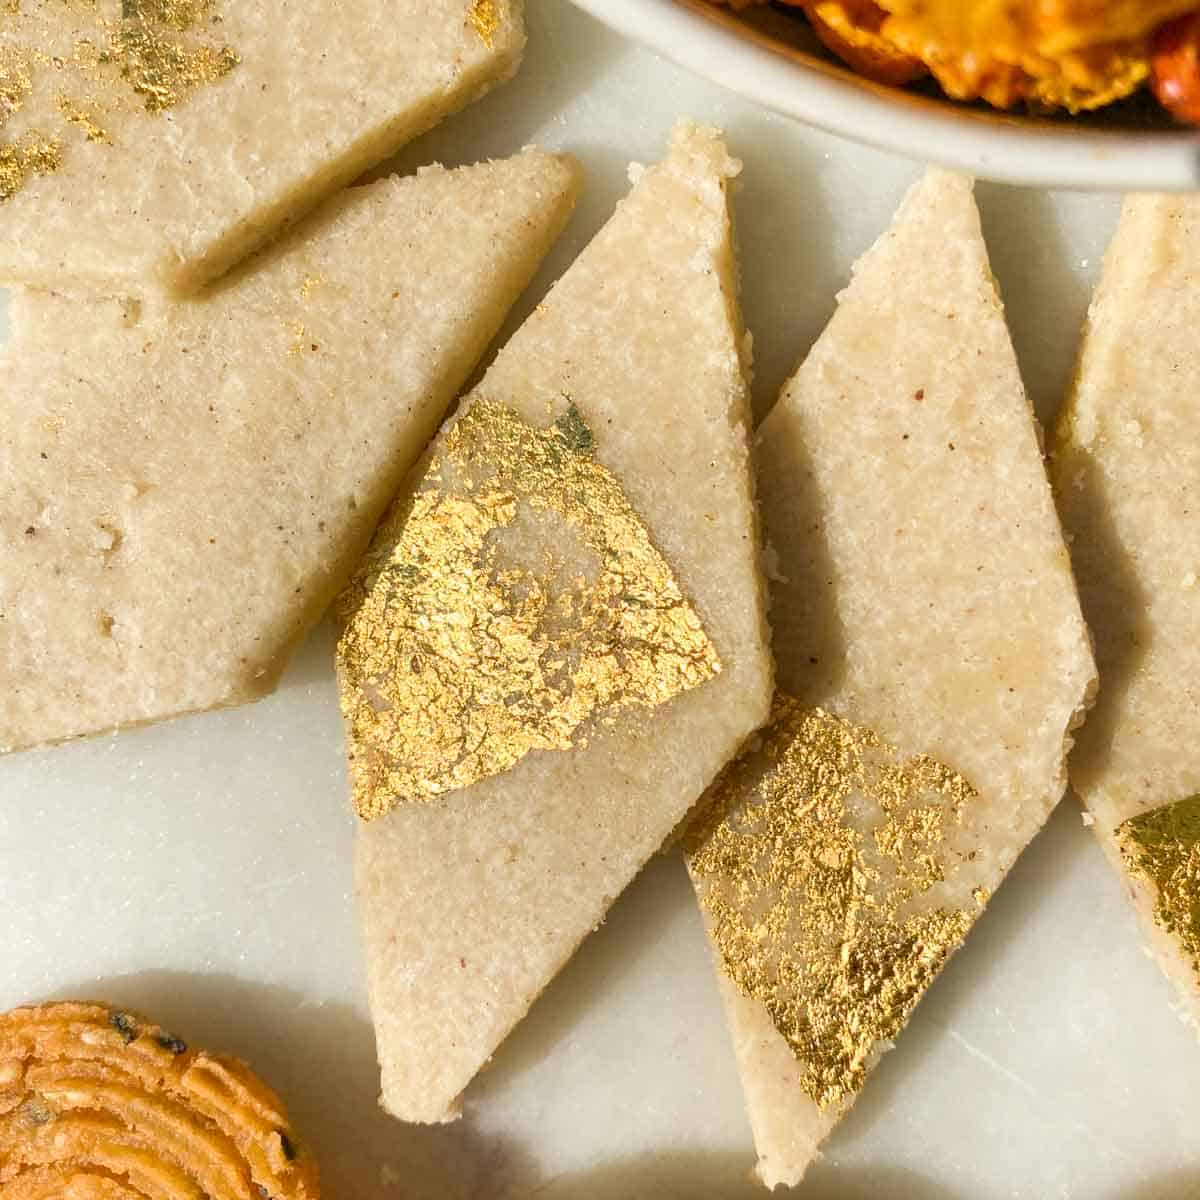
Although the name Kaju katli literally translates to cashew diamonds, you can decorate and shape the fudge however your heart desires.
Some ways that you can shape and decorate your kaju katli besides the diamond shape are as follows:
- Flowers - Use cookie cutters to cut out flowers and other shapes.
- Apples - Roll kaju dough into small balls or apples. Use food coloring to paint the exterior red and place a clove in the center to represent the stem.
- Rolls - One the kaju dough is flat, you can fill the center with pistachios and roll into a log.
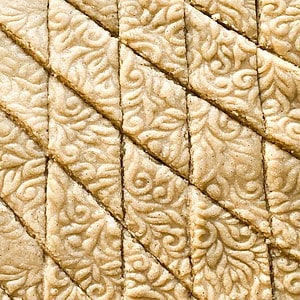
- Etched Designs - Another option is to use a cookie stamp or engraved rolling pins to roll out designs onto your dough.
How to make cashew flour
Kaju katli requires blitzing cashews into a flour. You can go down the route of buying cashew flour at the store or make it at home. Making cashew flour for kaju katli is pretty straightforward and often it is easier to find whole cashews at the store than cashew flour.
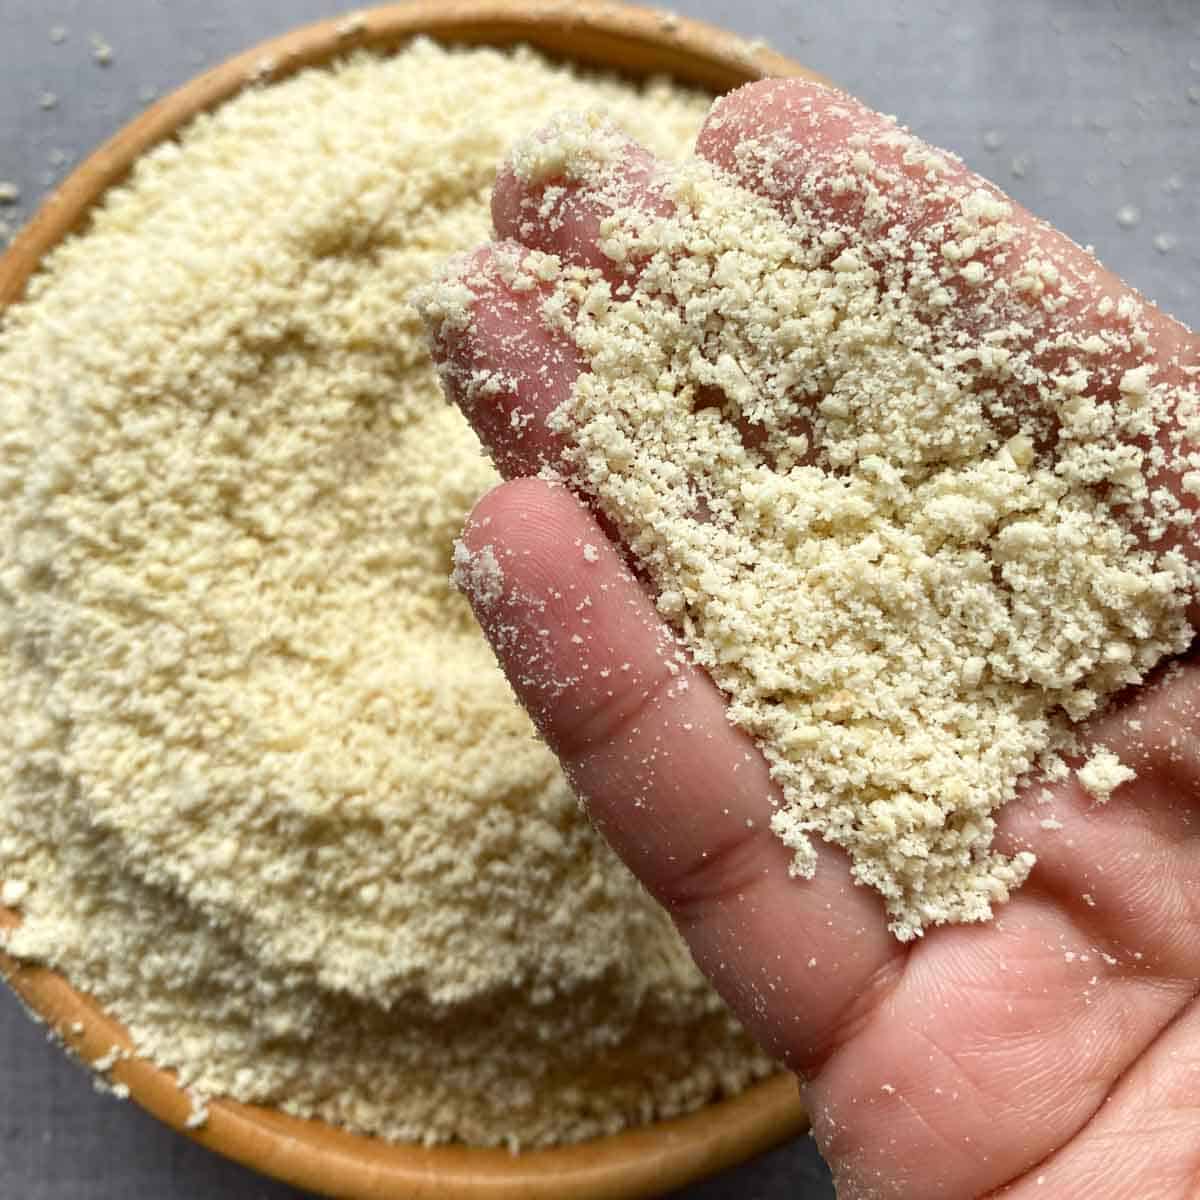
The key to making cashew flour is to blitz or pulse the cashews until they are a coarse texture. Over-blitzing the cashews will cause the cashews to release their oils and cause the cashews to clump into cashew butter rather than flour. The cashew flour for kaju katli should be coarse in texture similar to couscous. You aren't looking for a really fine flour. If you are making a large batch of cashew flour, it helps to divide the cashews and blitz them in batches to ensure that all the cashews get equal time along the blade of the food processor.
Tips for getting the perfect kaju katli
- Make sure the cashews are blitzed into a coarse flour - Any big cashew chunks will produce kaju katli dough that is lumpy rather than smooth.
- Heat the sugar syrup until its silky - When cooking the sugar, we are looking for all of the sugar water to start boiling and it to be a syrup-y consistency with no sugar granules remaining. The syrup should be able to form a loose thread in between fingers.
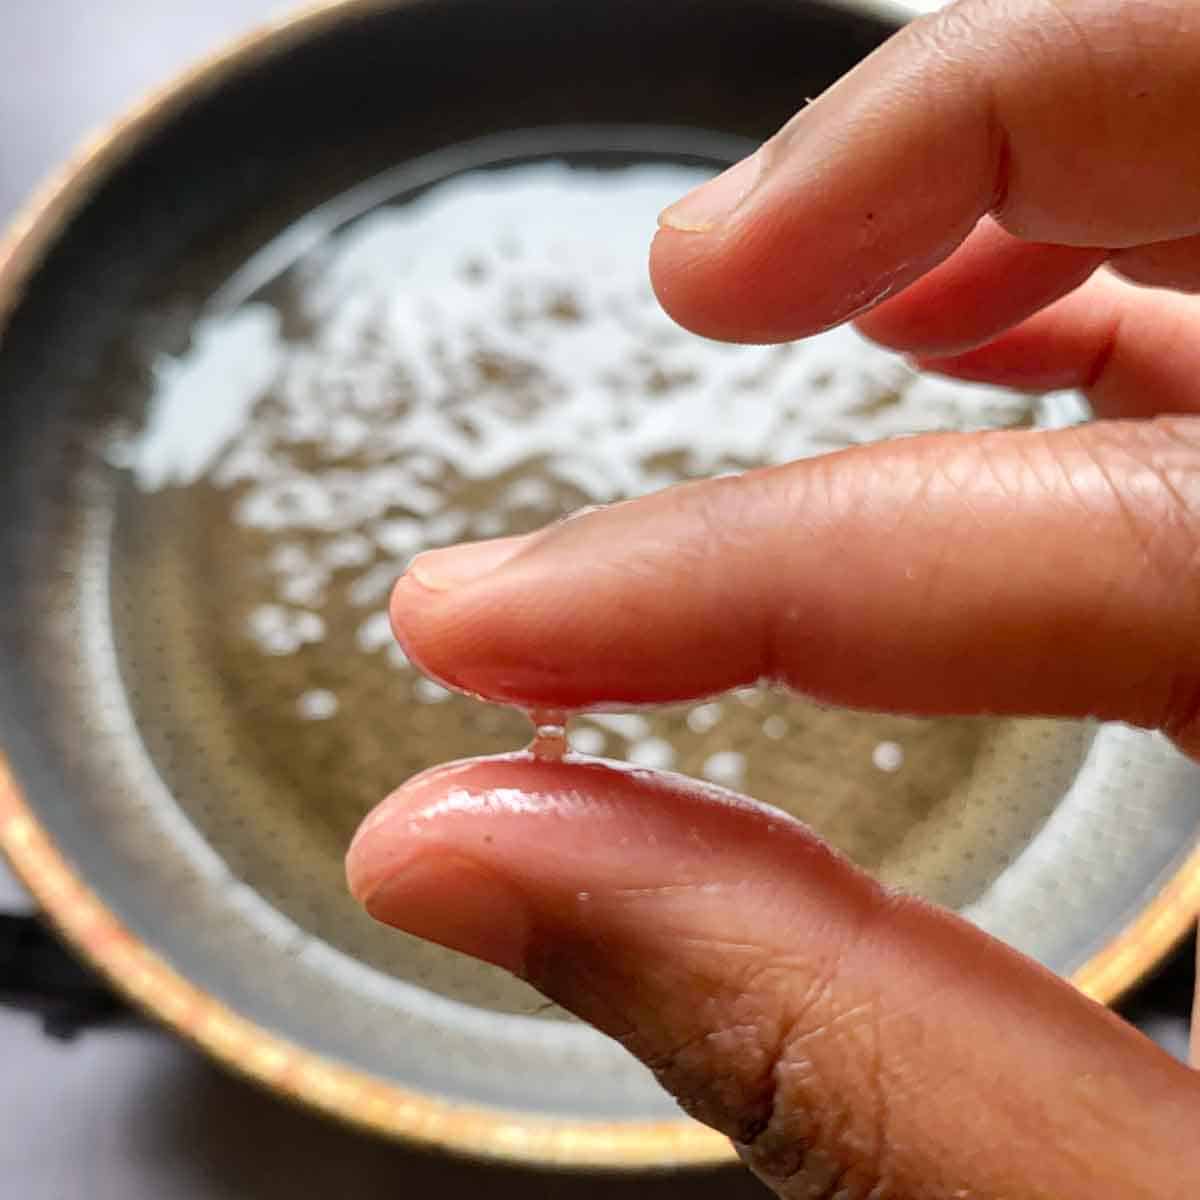
- Turn heat to low before adding cashew flour - It is important to lower the temperature of the stove before adding the cashew flour. This ensures that when the cashew flour is added, it does not burn in the pan.
- Kaju katli should be a wet dough consistency that pulls away from the sides of the pan - Look for the kaju katli dough to pull away from the sides of the pan to form a wet dough as a visual indicator that is it close to being done.
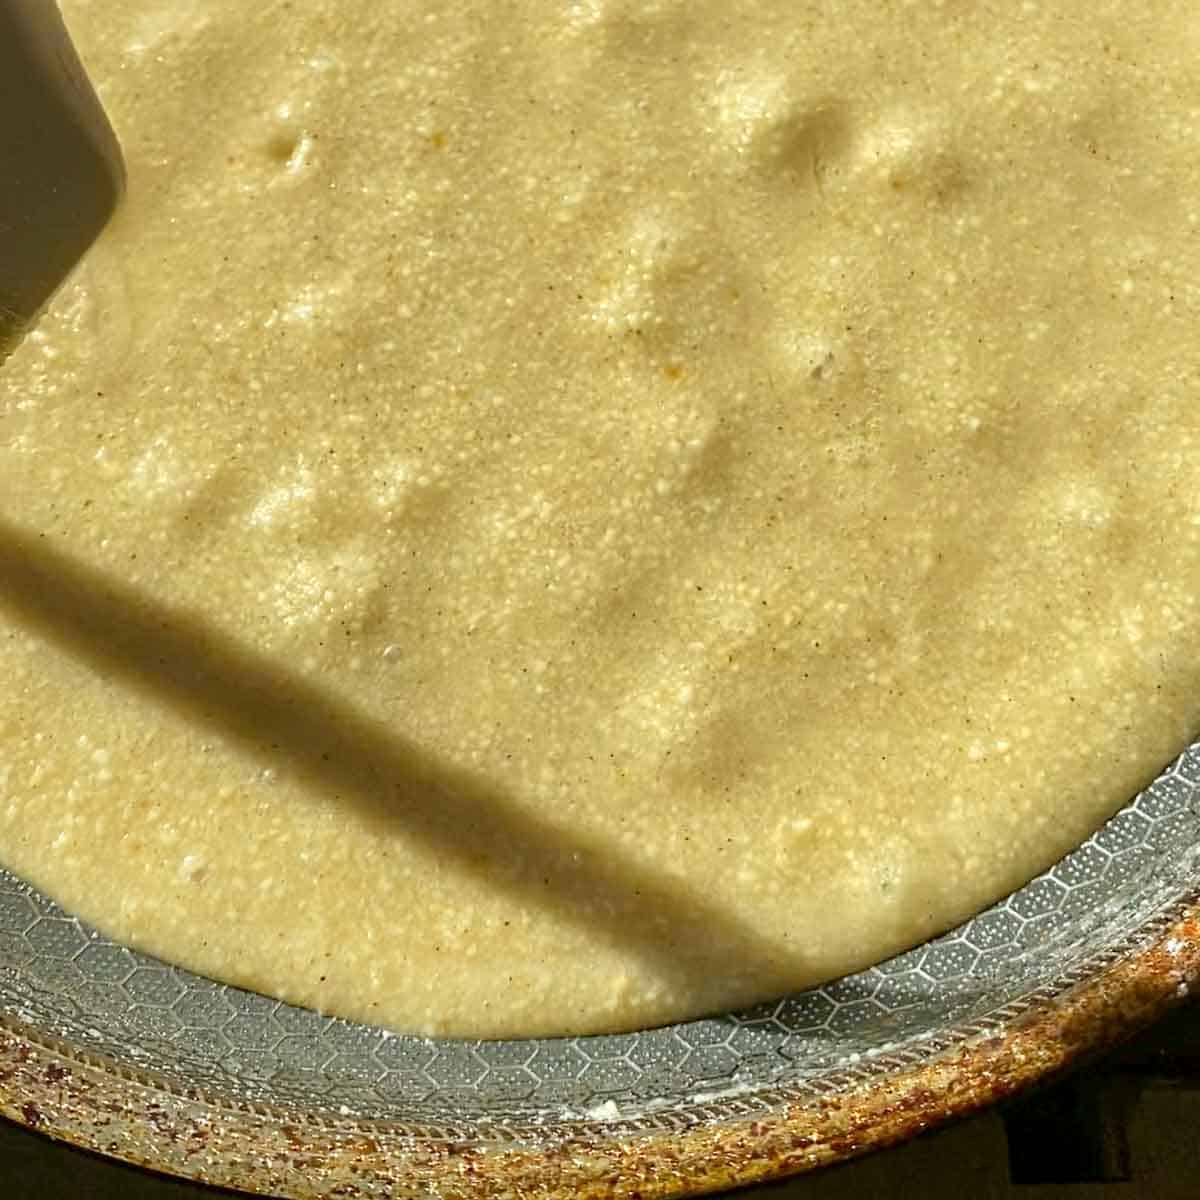
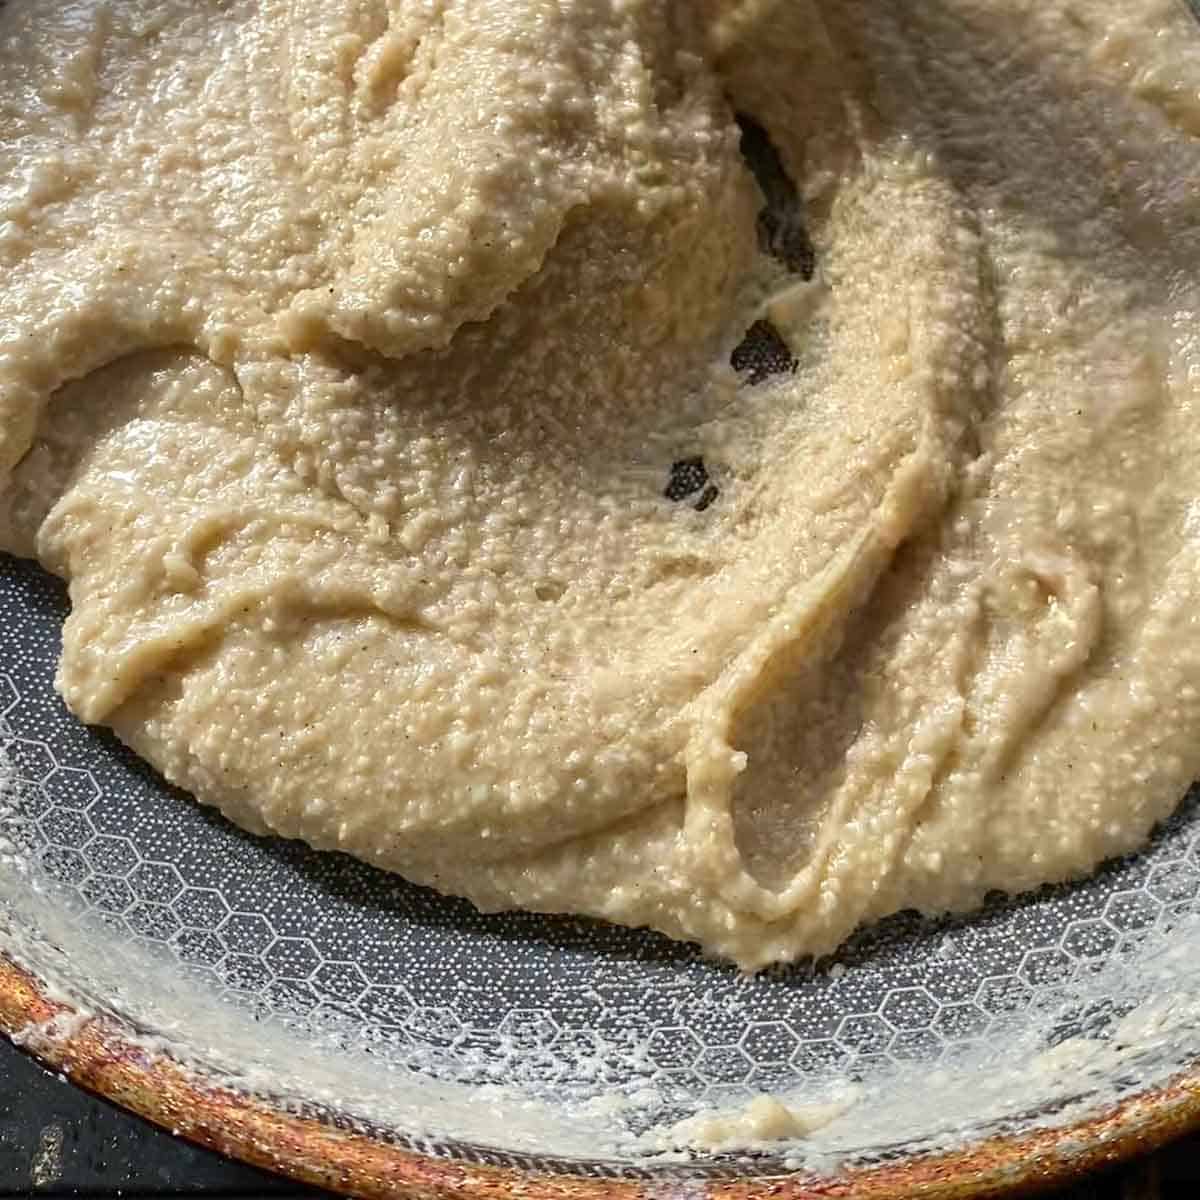
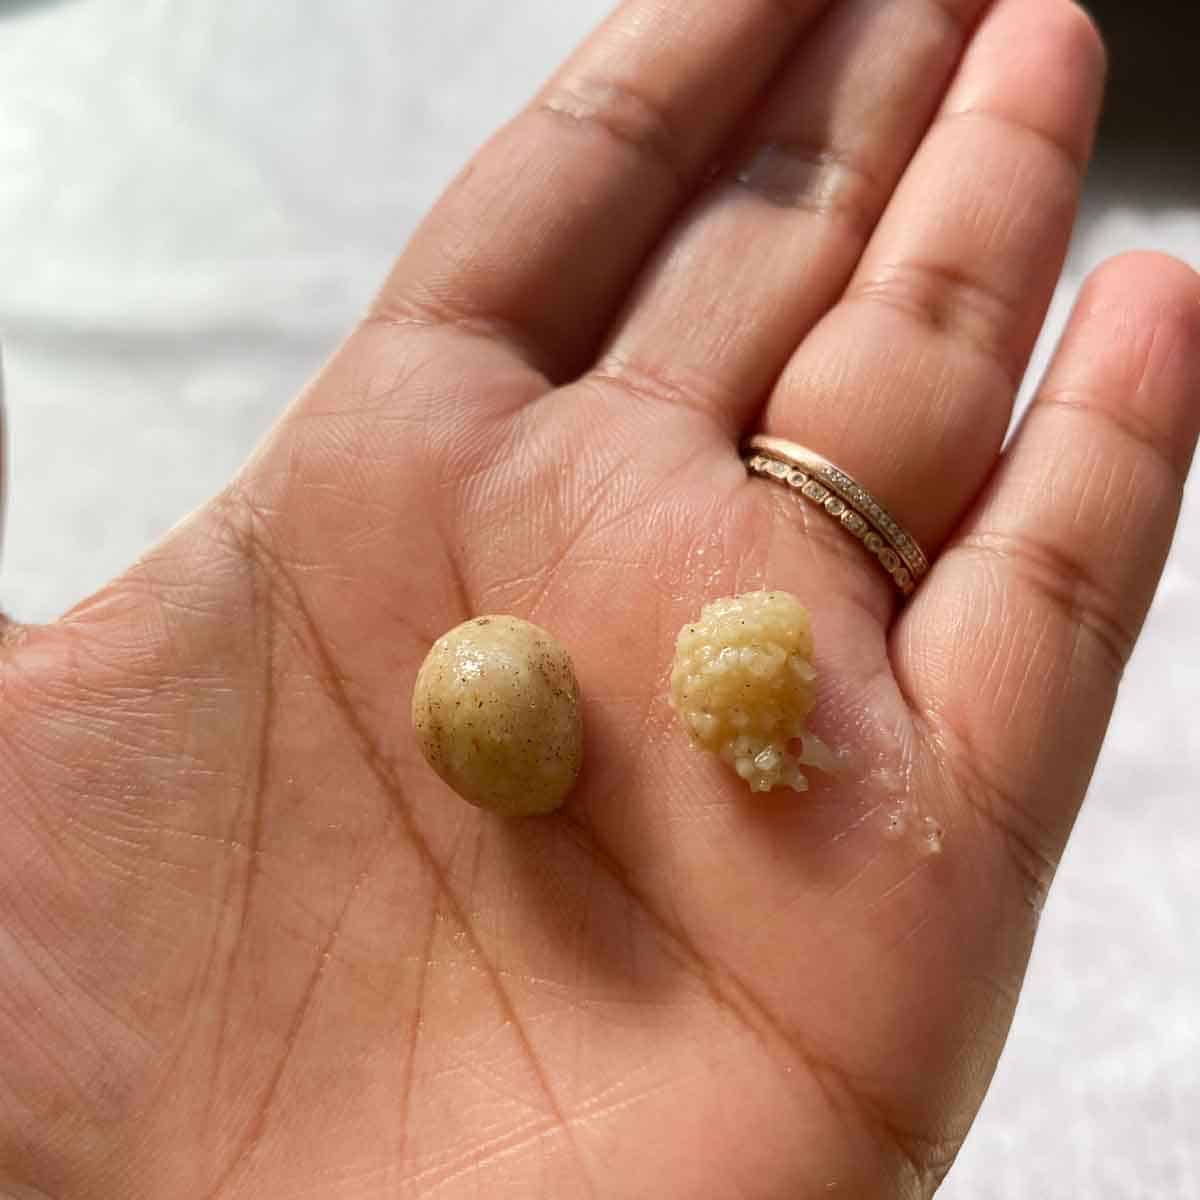
- Take a small sample to test if the dough is ready - Take a sample and place it on a plate. If the sample dough forms a non-sticky dough ball, the dough can be removed from the pan. If the dough is still sticky, that means it is not cooked enough and needs more time on the stove.
- The kaju katli should be warm while working with it. Once the kaju katli is cool enough to touch but still quite warm, you should work with it to form an even rectangle. You can wait for it to cool and harden a bit more before cutting it into its diamond shape.
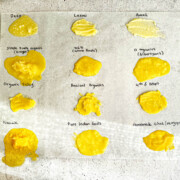
The visual indicator that kaju katli dough is done is when the dough starts pulling away from the sides of the pan and clumps towards the center. A better test is to take a small sample of the dough, allow it to cool for 1-2 minutes, and see if the dough can form a non-sticky ball. Check out this photo to see cooked vs. uncooked dough.
You can either transfer the kaju katli dough back to the pan and cook it on low heat until it forms a non-sticky dough or you can add milk powder to the dough until it is easy enough to work with. The last fix is to place the kaju katli dough in the fridge overnight and allow the dough to naturally lose moisture so it is easier to work with.
If the kaju katli dough is slightly dry and cracking, you can slowly add warm milk and knead it into the dough to hydrate it to help roll it out. In the future, this can be prevented by shaping the dough while it's still warm and the shape has not set in.
You can roll the kaju katli and either use a cookie stamp or a etched rolling pin to add a pattern to the kaju katli. You can use food coloring to dye the kaju katli into different colors and use cookie cutters to cut them into different shapes.
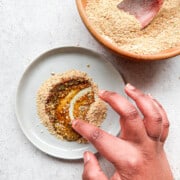
Homemade cashew flour will never get ultra fine. It is sufficient to blend the flour into a couscous like texture as pictured here. The goal is to blitz big pieces of cashews out but not blend the cashews into a cashew butter.
It is important to get the sugar granules to completely dissolve for kaju katli. The sugar syrup should feel thick and sticky between the fingers and form a brittle string between your fingers as pictured here. If you have a candy thermometer, just wait for the sugar syrup to get between 215 F and 235 F (sugar string stage) before adding the cashew flour. But more importantly, don't allow the sugar to get too hot or else the kaju katli will crystalize into a hard ball.
Kaju Katli (Indian Cashew Fudge)
Ingredients
- 2 cup (280 g) raw whole cashews
- ¾ cup (160 g) water 160g
- 1 cup (216 g) sugar 216g
- ½ teaspoon cardamom powder
- 2 tablespoons unsalted ghee plus more to brush parchment paper
- sheets of edible silver foil Optional
Instructions
- Cut two sheets of parchment paper that are 9x12 inches. Brush each side of the parchment paper with ghee.
- In a food processor pulse the 2 cup (280 g) raw whole cashews to form a coarse powder that resembles the texture of couscous. Do not over pulse, which will cause the cashews to turn into a cashew butter instead of a powder.
- In a medium pan on medium heat, mix ¾ cup (160 g) water, 1 cup (216 g) sugar, and ½ teaspoon cardamom powder.
- Allow the sugar to completely dissolve and boil until it is a syrup-y consistency. The sugar syrup, when cool enough to touch, should feel thick and silky between your fingers.
- Reduce the heat to low. Add cashew flour, and stir with a plastic spatula until the cashew flour is fully hydrated. Continue to stir and add in half of the 2 tablespoons unsalted ghee and cook for another 10-12 minutes on low heat until the mixture forms a dough that pulls away from the edge of the pan and forms a sticky dough. Turn off the heat.
- Put a small portion of the dough on a small plate and allow it to briefly cool. If the paste turns into a non-sticky ball then it is ready. If it is still sticky and wet, it may need an additional minute on low heat to cook a bit more.
- Pour the hot paste onto one of the greased parchment papers. Allow the paste to cool briefly. Work quickly while the dough is still warm. Add remaining half of the 2 tablespoons unsalted ghee to the dough and lightly fold and knead the dough using the parchment paper as a barrier between the hot dough and your hands and form it into a rough rectangle shape. If the dough is sticky wait ~5 minutes as it should become more manageable to work with as it cools.
- Place the top parchment paper back onto the dough as a barrier between the rolling pin and the dough and roll the dough into a rough rectangle that is about ¼ inch thick.
- Drape edible silver foil onto the rectangle as desired. Using a sharp paring knife, make vertical cuts followed by diagonal cuts to form diamonds or kaju katlis. It helps to lightly score the cuts on the katlis to outline where the cuts should be before making the final cuts.
- The kaju katlis can be stored in an airtight container in the fridge for up to 3 weeks, but they taste best at room temperature. Do not microwave if you have added silver foil to the dessert!
Notes and Tips
- Make sure to test a small sample of your kaju katli dough before removing it from the pan. Once cooled for ~1-2 minutes it should easily roll into a non-sticky dough ball that is firm. If it is still sticky that means that the dough is not ready.
- If you end up having a dough that is too wet, you can place it back on the stove on low heat and cook it out more. If your dough is crumbly, that means you have overcooked the dough. Gradually sprinkle on milk to help hydrate the dough so it is pliable enough to roll.
- It is important to work with the kaju katli dough while it is still warm; otherwise it will be difficult to form it into a thin rectangle without cracks.
Shri Repp says